
In this tutorial, we will be going through UiPath Arguments. You already have an idea of UiPath Variables. Arguments also work similarly to variables but have their own specific use and features. So here you will be able to learn a complete overview of this. So let’s get started.
What is UiPath Argument
Arguments can send data from one project to another. They are similar to variables in that they dynamically store data and pass it on. While arguments transfer data between automation, variables pass data across activities. They thereby make it possible for you to repeatedly reuse particular projects.
Some similarities between Variables and arguments are:
- They use dynamic data storage.
- The data types are the same.
- The methods and attributes they provide are the same.
The distinction is that they have an extra attribute for this purpose—the direction—and they communicate data between processes. Arguments can go in one of three directions: in, out, or in and out. These instruct the Robot on where to send the data they contain.
Types of Arguments in UiPath Studio
Now we will check the UiPath Argument direction. In Uipath there are 3 types of arguments. let’s check each of them:
- In Arguments: It is used to pass data or value from one activity to another in UiPath Studio. Here the value is passed within the workflow or the arguments are used within the workflow.
- Out Arguments: UiPath Argument Out is used to pass or send data or value from one workflow ( Process) to another workflow in your UiPath Studio
- In/Out Arguments: These arguments are the combination of In and Out which provide the functionality of both these arguments
Difference between UiPath Variable and Argument
We have already discussed similarities between them, now let’s check UiPath Arguments vs Variables to know how they differ from each other.
| Arguments | Variables |
|---|---|
| Arguments are used to send data dynamically between various automation. | Variables are used to transfer data across tasks within a process. |
| It has Out, In, In/Out Directions | Do not have Out, In, In/Out Directions |
| To create an In Argument you can use Ctrl + M and to create an Out Argument you can use Ctrl + Shift + M | To create use the keyboard short key Ctrl + K |
| You can create an Argument still if there is any Activity | To create a new variable you should have at least need one activity |
| Does not Require a scope | Require a scope |
How to Create Arguments in UiPath
You can use any one of the methods to create an argument in UiPath.
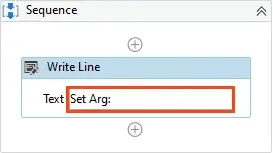
1. From an Activity
To create an argument in activity:
- Select an activity where you want to create an argument.
- Right-click and select “Create Argument“.
- Give an appropriate name for an argument and hit enter.
2. Form Properties Panel
You can create your own argument from your properties panel in uipath studio:
- Click any activity to see its properties.
- Right-click on the text field and select “Create In Argument” or “Create Out Argument“

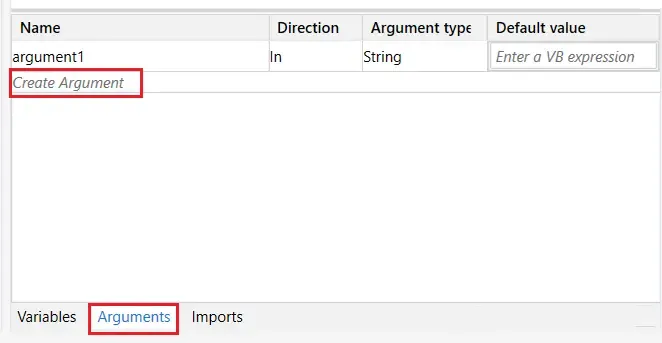
3. From Arguments Panel
- Click on the argument next to the variable section.
- Select “Create Argument” give an appropriate name for the argument and hit enter.
4. Using Keyboard Shortcuts
You can also create an argument by using the keyboard shortcut provided by uipath.
- In Argument: Ctrl + M
- Out Argument: Ctrl + Shift + M
UiPath Argument Naming Convention
To differentiate UiPath arguments from standard variables, it is recommended to adopt a specific naming convention. This convention involves prefixing the argument with either “in,” “out,” or “io” to indicate its direction.
- It can start with “in_,” “out_,” or “io_ so that you can reuse this throughout your automation and it is easy to understand its direction.
Arguments enable the smooth movement of information across workflows and flowcharts in contrast to variables, whose scope is restricted to the activity in which they have been specified.
You may free yourself from the limitations of conventional variables and get the most out of your automation projects by utilizing the strength of UiPath arguments.
UiPath Argument Property
Now we will go through the Argument panel in detail.
| Property | Description |
|---|---|
| Name | Name is mandatory for argument as when you need its value or data you are calling by its name. |
| Direction | Direction is mandatory. Direction indicates In, Out, In/Out |
| Argument Type | It is a mandatory field. It indicates the data type you are passing. It has the following data types: ➊ Array of [T] ➋ Boolean ➌ Int32 ➍ Object ➎ System.Data.DataTable ➏ Browse for Types ➐ String |
| Default Value | It is an optional field. In some cases, you may need to set value already so you can use this to set specific data manually. |
| IsRequired | It describes about, if you enable this option then arguments are mandatory. |
How to Convert Variable to Argument
You can easily convert a variable that you have already created into an argument easily.
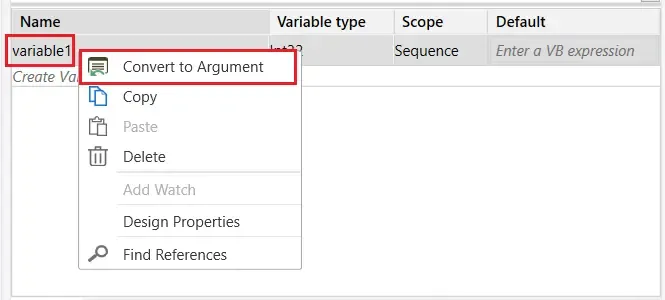
- Click the “variable panel”, which is present at the bottom of uipath studio,
- Select the variable which you want to convert to the argument
- Now, right-click and select “Convert To Argument“. You have successfully converted your argument to a variable.
Benefits of Using Argument in UiPath Studio
Organizations can get a variety of advantages from the usage of UiPath Arguments in automation initiatives, including:
- Efficiency improvements for automation projects
- Improved communication of data between various tasks
- Improved reliability and accuracy of automation projects
Organizations may enhance efficiency, save time, and increase the accuracy of their operations by employing UiPath Arguments. Argumentation can also aid in lowering the complexity of automation projects, which will make them simpler to manage and maintain.
Conclusion
UiPath Arguments serve as the backbone of any successful automation project, allowing for seamless data exchange and unparalleled efficiency. You can take your automation efforts to the next level, unlocking new levels of productivity and elevating your processes to a whole new standard of efficiency.
Also check, UiPath